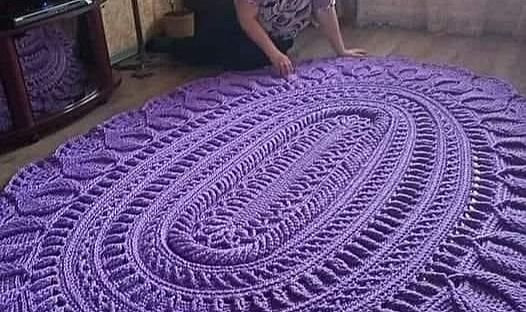
How to crochet a Seamless Round Rug
Here's a step-by-step guide on how to crochet a rug:Materials Needed:Chunky or bulky weight yarn in your preferred color(s)Crochet hook suitable for the yarn thickness (suggested size: 9mm or 10mm)
Scissors
Yarn needleInstructions:Choose the Size and Design:
Decide on the size and design of your rug. Consider the space where the rug will be placed and the purpose it will serve. Popular rug shapes include circular, rectangular, and oval, but you can get creative and experiment with different shapes.
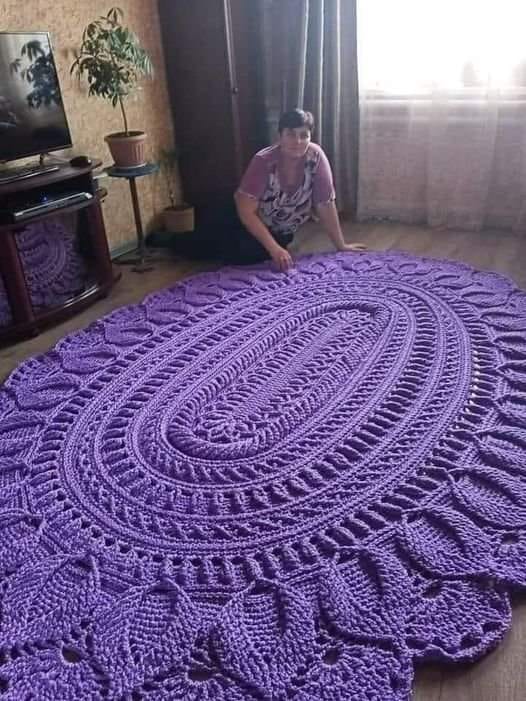 Gauge and Tension:
Start by creating a gauge swatch using your chosen yarn and crochet hook. This will help you determine the number of stitches needed to achieve the desired size and ensure that your rug lies flat. Adjust your hook size if necessary to achieve the desired tension.
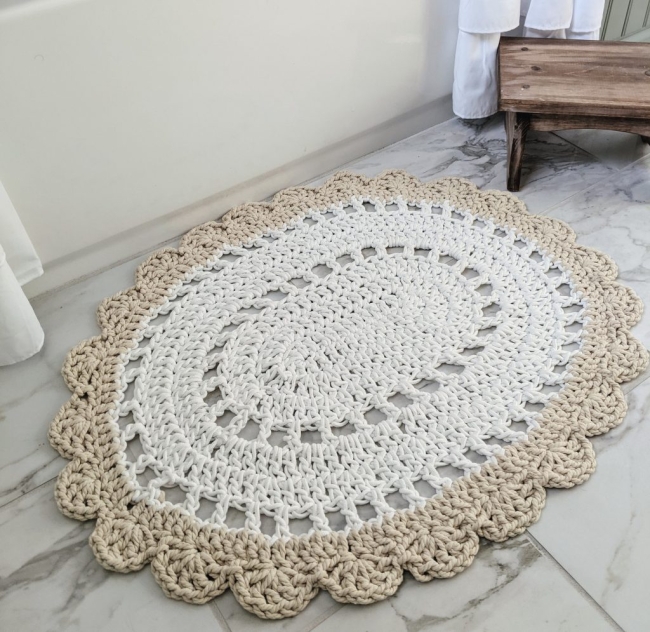 Foundation Chain:
Begin by creating a foundation chain that is the desired length of your rug. Remember that the chain will shrink slightly when you start working the subsequent rows, so make it a little longer than your target length.
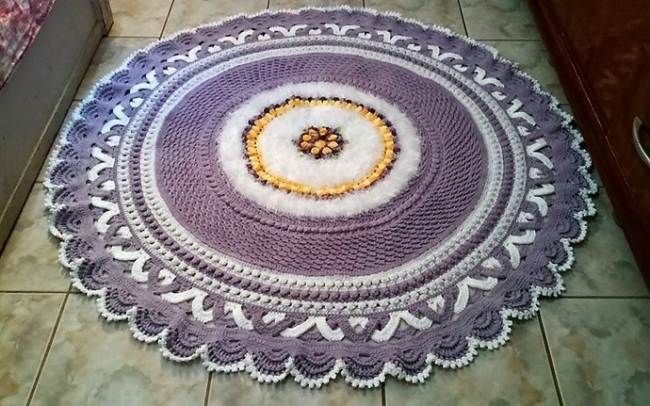 Rows or Rounds:
Choose whether you want to work your rug in rows or rounds, depending on your design and shape. For rectangular or oval rugs, work in rows back and forth. For circular rugs, work in continuous rounds.
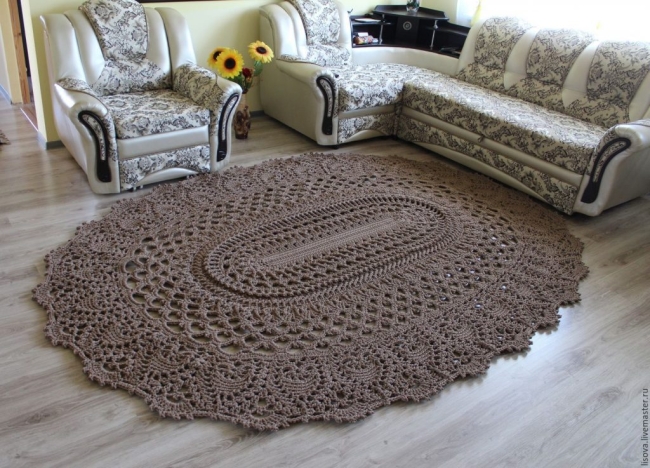 Stitch Pattern:
Select a stitch pattern that suits your style and desired texture. Popular stitch patterns for rugs include single crochet, half double crochet, and double crochet. Experiment with different stitch combinations to create interesting textures.
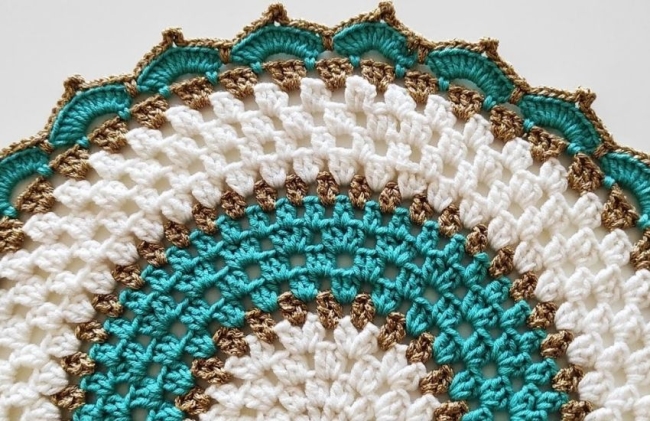 Work the Body:
Continue crocheting rows or rounds using your chosen stitch pattern until your rug reaches the desired size. Remember to maintain consistent tension throughout to ensure an even appearance.Finishing:
Once you reach the desired size, fasten off the yarn, leaving a long tail. Use a yarn needle to weave in any loose ends, working them securely into the stitches to ensure they don't come undone with use.Optional: Non-Slip Backing:
If you want to prevent your rug from slipping on smooth floors, consider adding a non-slip backing. You can purchase non-slip rug mats or apply a layer of non-slip latex or silicone backing to the underside of your rug.
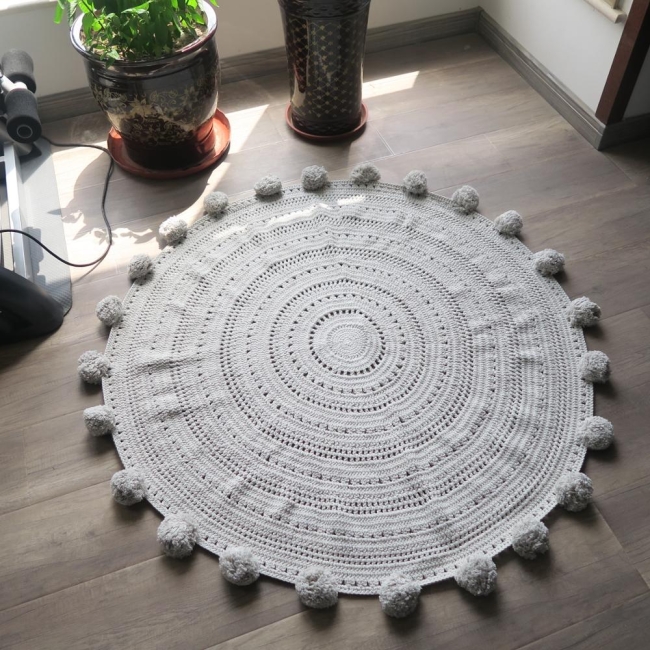 Block and Enjoy:
If necessary, block your rug by wetting it, shaping it to the desired dimensions, and allowing it to dry flat. This will help flatten any curling edges and give your rug a polished appearance. Once dry, place your rug in the desired location and enjoy your cozy and stylish crochet creation!You have completed your crochet rug. Whether it's a soft and plush rug for comfort or a sturdy rug for durability, your handmade creation will add a personal touch to your home decor. Enjoy the warmth, comfort, and beauty your crochet rug brings to your space, and feel proud of the time and effort you put into making it!
