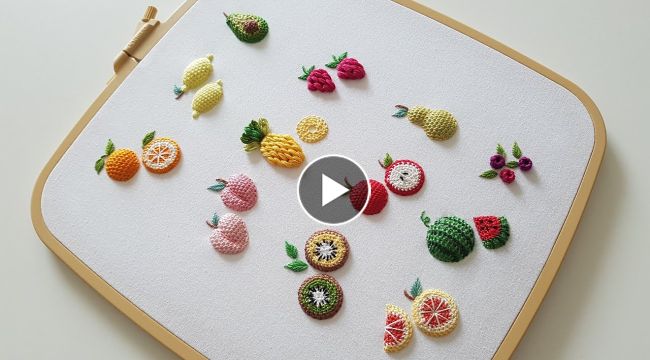
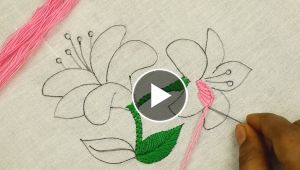
Fruit embroidery is a popular form of embroidery that involves creating designs with fruits as the main motif. It is a great way to add a pop of color and a touch of whimsy to your embroidery projects.To get started with fruit embroidery, here are some basic steps and tips:
- Choose your design: The first step is to choose the fruit design that you want to embroider. You can find free patterns online or create your own design.
- Select your fabric and embroidery floss: Choose a fabric that is suitable for embroidery, such as cotton or linen. For embroidery floss, select colors that match your fruit design. You can use a single color or a combination of colors for a more realistic look.
- Choose your embroidery hoop: Select an embroidery hoop that is the right size for your project. The hoop should be big enough to fit your design and allow you to work comfortably.
- Transfer the design onto the fabric: There are several ways to transfer a design onto fabric, such as using a transfer pen, tracing paper, or a lightbox. Choose the method that works best for you.
- Begin stitching: Start by stitching the outline of your design using a backstitch or running stitch. Then, fill in the design using a satin stitch, long and short stitch, or any other stitch that you prefer.
- Add details: Once you have filled in the design, you can add details such as shading, highlights, or texture using different stitches or techniques.
- Finish the embroidery: Once you are happy with your embroidery, remove it from the hoop and trim any excess fabric. You can frame your embroidery or use it to decorate a bag, cushion cover, or any other item.
