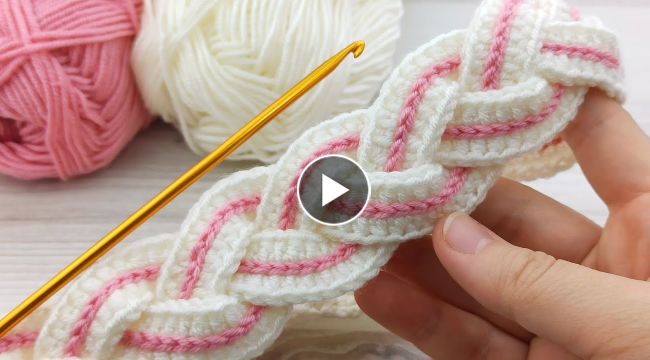
Crochet baby headbands are a charming and practical accessory that can add a touch of cuteness to any baby outfit. They are not only stylish, but they can also keep a baby's hair out of their face, which is essential during those early years. If you are new to crocheting, don't worry! Making a crochet baby headband is a fun and easy project that even beginners can tackle. In this beginner's guide, we will go over the materials you'll need, some helpful tips, and a step-by-step guide to making your own crochet baby headband.Materials You Will Need:
- Crochet hook (size G/4mm)
- Worsted weight yarn (in your desired color)
- Scissors
- Tapestry needle
- Measuring tape
- Make sure to check your gauge before starting your project to ensure that your headband is the right size.
- It's important to keep your stitches loose and not too tight. Tight stitches can make the headband too stiff and uncomfortable to wear.
- Practice the basic stitches before starting your project to get comfortable with them.
- Start by making a slip knot on your crochet hook.
- Chain the desired length for your headband. A typical newborn headband is about 12 inches long, but you can adjust the length based on your preference.
- Tunisian Simple Stitch (TSS) across your chain. Insert your hook into the second chain from your hook, yarn over, and pull up a loop. Repeat this process across the chain.
- Work the TSS back across the row, making sure to keep your stitches loose and even.
- Repeat step 4 until your headband is the desired width. Typically, a baby headband is about 1.5-2 inches wide.
- Bind off your stitches and weave in the ends using a tapestry needle.
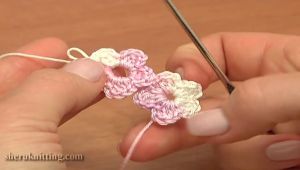
- Create a bow or flower embellishment using the same yarn or a complementary color. You can attach this to the headband using a tapestry needle.
- Try on the headband and adjust the size if necessary.
