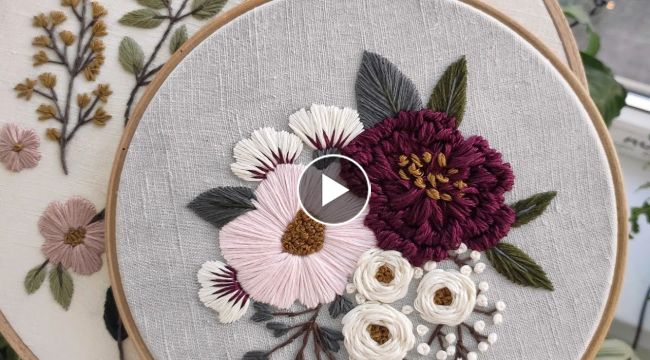
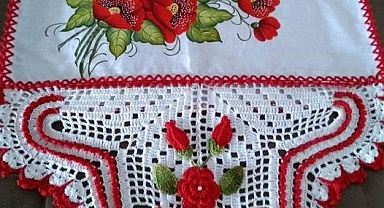
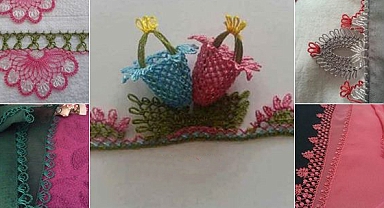
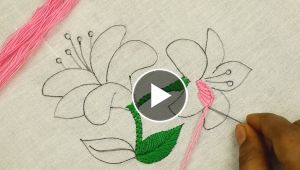
Hand embroidery is a beautiful and relaxing craft that allows you to create stunning designs with just a needle and thread. If you're looking for a new embroidery project, pink and burgundy peonies can make for a beautiful and challenging design. Here are some tips for creating a hand embroidery of pink and burgundy peonies:
- Gather materials: You'll need embroidery floss in shades of pink, burgundy, and green, an embroidery hoop, embroidery needles, and fabric. Choose a high-quality fabric that will hold up to embroidery, such as linen or cotton.
- Sketch your design: Before you start embroidering, sketch out your design on paper. Look at reference images of peonies to get an idea of the shapes and colors. You can also draw your design directly onto the fabric using a pencil or a transfer pen.
- Choose your stitches: Peonies have many intricate details, so you'll need to use a variety of stitches to create a realistic design. Stitches like satin stitch, French knots, and backstitch can be used to create texture and dimension.
- Start with the outline: Begin by embroidering the outline of the peonies and leaves. Use a backstitch or split stitch to create a clean, precise line.
- Fill in the petals: Peony petals have many layers and textures, so use a variety of stitches to fill them in. Satin stitch can be used for smooth, flat areas, while French knots and seed stitches can add texture and dimension.
- Add shading and details: Use darker shades of embroidery floss to add shading and depth to the petals. You can also add details like stamens and pollen using yellow or gold embroidery floss.
- Finish with the leaves and stems: Use shades of green embroidery floss to embroider the leaves and stems of the peonies. Use long and short stitches to create a realistic texture.
