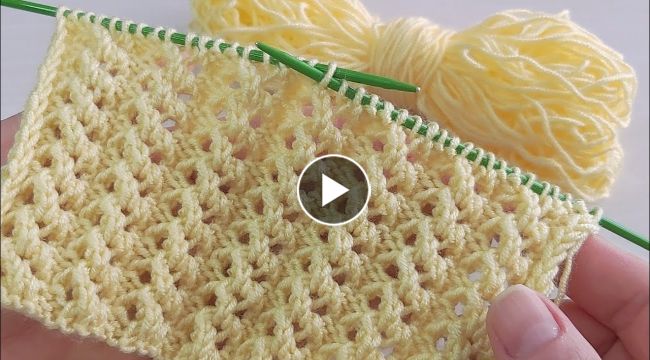
Knitting with two needles is also known as flat knitting. Here are the basic steps for knitting with two needles:
- Choose your materials: Select the yarn and knitting needles that are appropriate for your project. The size of the needles will depend on the weight of your yarn and the desired gauge of your knitting.
- Cast on: Begin by casting on the required number of stitches onto one of the needles. There are many methods of casting on, but the long-tail cast on is one of the most common.
- Knit the first row: Hold the needle with the cast on stitches in your left hand and the other needle in your right hand. Insert the right-hand needle into the first stitch on the left-hand needle from front to back. Wrap the yarn around the right-hand needle and pull it through the stitch, sliding the stitch off the left-hand needle. Repeat this process across the row.
- Purl the second row: Turn the work around so that the needle with the completed row of stitches is in your left hand. Insert the right-hand needle into the first stitch on the left-hand needle from back to front. Wrap the yarn around the right-hand needle and pull it through the stitch, sliding the stitch off the left-hand needle. Repeat this process across the row.
- Continue knitting: Repeat steps 3 and 4 until the piece reaches the desired length.
- Bind off: To finish your knitting, you will need to bind off. This involves knitting two stitches together and then passing the previous stitch over the newly knit stitch until only one stitch remains. Cut the yarn and pull the tail through the final stitch.


