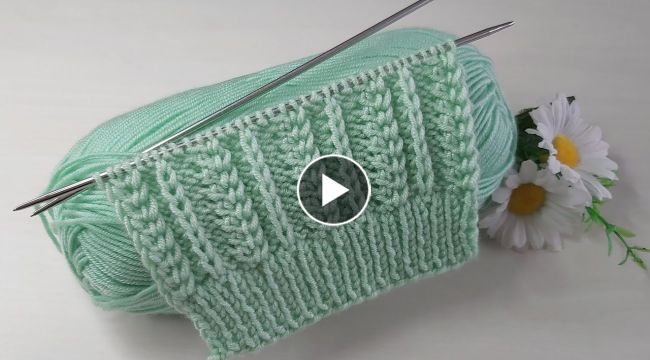
Knitting a sweater with two needles can be a fun and rewarding project. Here's a basic pattern to get you started:Materials:
- Two knitting needles (size and type of your choice)
- Yarn of your choice
- Scissors
- Tape measure
- Stitch markers
- Choose your size and pattern: Find a knitting pattern for a sweater that you like and that is suitable for knitting with two needles. Make sure you have the correct gauge and measurements for your size.
- Cast on: Cast on the required number of stitches for your size.
- Knit the ribbing: Knit the ribbing (usually 1x1 or 2x2 rib) for the required number of rows or inches as specified in the pattern.
- Knit the body: Knit the body of the sweater in the stitch pattern specified in the pattern. Be sure to place stitch markers at the beginning and end of any pattern repeats, if required. Continue knitting until the body of the sweater reaches the required length as specified in the pattern.
- Shape the armholes: At the beginning of the next two rows, bind off the required number of stitches for the armholes as specified in the pattern. Continue knitting the remaining stitches for the back of the sweater until the armhole reaches the desired depth as specified in the pattern.
- Shape the neckline: Begin shaping the neckline as specified in the pattern. This will typically involve binding off a number of stitches at the center of the sweater and then decreasing on either side of the bind off in subsequent rows.
- Knit the sleeves: Using the same stitch pattern as the body of the sweater, knit the sleeves. Be sure to follow the pattern instructions for shaping the sleeves.
- Sew the sweater together: Sew the front and back of the sweater together at the shoulders using the mattress stitch. Sew the sleeves to the armholes using the mattress stitch. Sew the side seams together using the mattress stitch.
- Finish the sweater: Using the same size needle or a smaller size, pick up stitches around the neckline and knit the ribbing as specified in the pattern. Repeat for the sleeves and the bottom of the sweater.
- Weave in the ends: Cut the yarn and weave in the ends using a tapestry needle.


