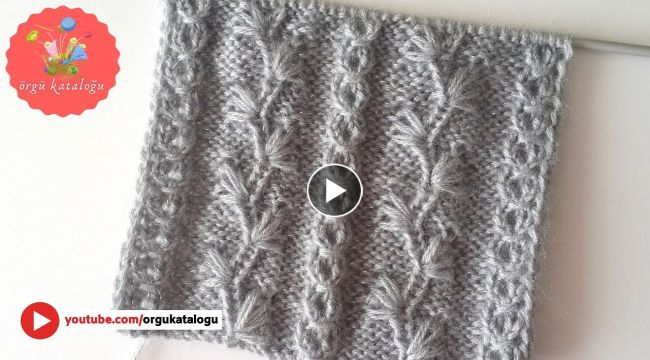
Spring is the season of new beginnings and growth, and what better way to celebrate it than by knitting a cute and colorful baby vest? In this tutorial, we will guide you through the steps of knitting a spring branch model baby vest. This pattern features a simple yet elegant design, perfect for any baby who wants to show off their springtime style.
Materials You Will Need:
4 skeins of baby weight yarn (in the colors of your choice)
Size 5 knitting needles
Stitch markers
Tapestry needle
Scissors
Instructions:
Step 1: Cast On
Cast on 80 stitches using the long-tail cast-on method. Place a stitch marker at the beginning of the round.
Step 2: Knit the Ribbing
Knit in a K2, P2 ribbing pattern for 1 inch.
Step 3: Begin the Spring Branch Pattern
Switch to stockinette stitch (knit every round) and begin the spring branch pattern:
Knit 6 stitches in the first color, then switch to the second color and knit 1 stitch.
Switch back to the first color and knit 1 stitch, then switch to the third color and knit 6 stitches.
Switch back to the first color and knit 6 stitches, then switch to the second color and knit 1 stitch.
Switch back to the first color and knit 1 stitch, then switch to the third color and knit 6 stitches.
Repeat these 4 rows until the work measures approximately 8 inches from the cast-on edge.
Step 4: Shape the Armholes
On the next round, knit 20 stitches, then slip the next 20 stitches onto a stitch holder. Cast on 8 stitches using the backward loop method, knit to the end of the round. Repeat this process for the other side of the vest.
Step 5: Knit the Body
Continue knitting in the spring branch pattern until the work measures approximately 12 inches from the cast-on edge.
Step 6: Knit the Ribbing
Switch to K2, P2 ribbing pattern and knit for 1 inch.
Step 7: Bind Off
Bind off all stitches in pattern.
Conclusion:
Congratulations on completing your spring branch model baby vest! This adorable vest is sure to keep your baby warm and stylish during the spring months. Have fun experimenting with different color combinations and making this pattern your own. Don't forget to share your finished product with us on social media using the hashtag #springbranchvest.Happy knitting!