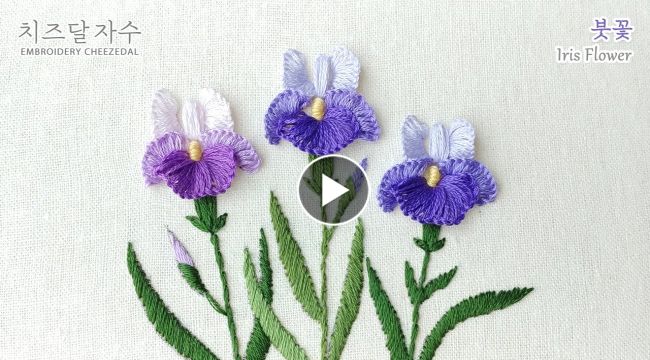
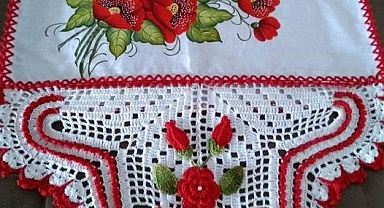
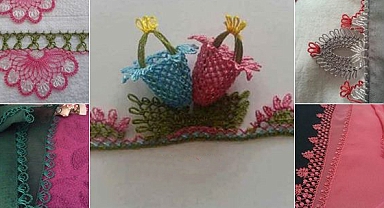
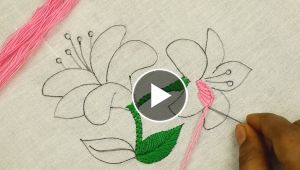
Iris flowers are one of the most beautiful and colorful flowers, and they make a wonderful subject for hand embroidery. With their distinctive shape and bright hues, they are a great addition to any embroidery project. Here's how you can create a lovely iris flower embroidery design.Materials you will need:
- Embroidery hoop
- Embroidery needle
- Embroidery floss in various shades of purple, blue, and green
- Fabric
- Scissors
- Start by selecting the fabric you want to use for your embroidery project. Light-colored fabrics work best, as they allow the colors of the embroidery floss to show up better.
- Cut a piece of fabric to the desired size for your embroidery project. You can make a small design for a patch or a larger one for framing or making into a decorative pillow.
- Place the fabric in the embroidery hoop, tightening the hoop so that the fabric is taut.
- Select the shades of embroidery floss you want to use for your iris flower embroidery design. For an iris flower, you will want to use various shades of purple, blue, and green.
- Thread your embroidery needle with the embroidery floss. Tie a knot at the end of the floss.
- Start by embroidering the stem of the iris flower using a backstitch or stem stitch. Use shades of green for the stem.
- Next, embroider the petals of the iris flower using satin stitch or long and short stitch. Use shades of purple and blue for the petals, blending the colors to create a realistic effect.
- Once the petals are complete, embroider the center of the iris flower using a combination of satin stitch and French knots. Use shades of yellow for the center.
- Add any additional details you want, such as leaves or other flowers in the background.
- When you have completed your embroidery design, carefully remove the fabric from the embroidery hoop. Trim any excess fabric and thread.
- You can then display your iris flower embroidery design in a frame, make it into a patch, or incorporate it into any other embroidery project you desire.
