• About us
  • Contact We
  • Cookie Policy
  • Privacy Policy
Anasayfa
  • Knitting
  • Embroidery
  • Crochet
  • DIY
  • Search
A
Maximize
A
Minimize
  1. News
  2. Embroidery
  3. How to start and end embroidery stitches
Embroidery
23 February 2023 - 09:24

How to start and end embroidery stitches

Embroidery
23 February 2023 - 09:24
1 dk reading time
SUBSCRIBESUBSCRIBE
Print
A
Maximize
A
Minimize
How to start and end embroidery stitches
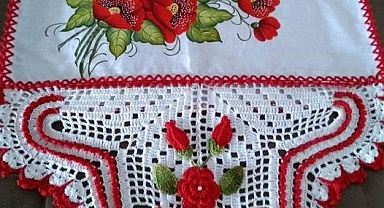
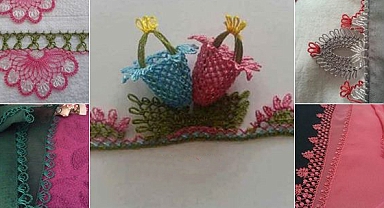
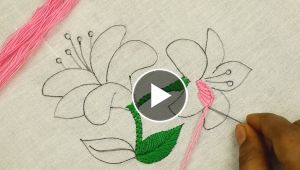
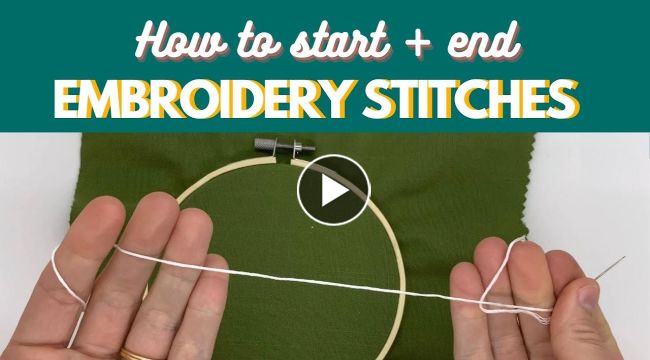
Starting and ending embroidery stitches can be a bit tricky, but it is an important part of the embroidery process to ensure that your stitches are secure and won't unravel over time. Here are some tips on how to start and end embroidery stitches:

Starting Embroidery Stitches:

  1. Knot Method: Thread your needle with embroidery floss and make a knot at the end. Bring your needle up from the back of your fabric and begin stitching.

  2. Waste Knot Method: Thread your needle with embroidery floss and make a knot at the end. Then, make a small stitch on the fabric away from your design area, leaving a small tail of thread. Bring your needle up from the back of the fabric where you want to start your embroidery and begin stitching.

  3. Loop Method: Fold the embroidery floss in half and tie a knot at the end to create a loop. Insert the loop through the fabric from the back to the front and pull the knot through the loop. This will create a secure starting point for your embroidery.

Ending Embroidery Stitches:

  1. Knot Method: Bring your needle to the back of your fabric and make a small knot close to your last stitch. Trim the excess thread close to the knot.

  2. Weaving Method: Take your needle to the back of the fabric and weave it under several stitches on the back. Trim the excess thread close to the fabric.

  3. Locking Method: Take a small stitch on the back of your fabric and then bring your needle up through your last stitch. Pull your needle and thread tight to create a loop. Pass your needle through the loop twice and pull tight to create a knot. Trim the excess thread close to the knot.

With these techniques, you can start and end your embroidery stitches with confidence, creating beautiful and secure designs that will last for years to come.

This news 16 hits received.
These news may also interest you
Embroider Flowers for Dresses and Home Decorations
Easy Embroidery Designs for Home Decor Use
Create a Creative Moving Duck Embroidery Design
Create Modern Flower Embroidery Designs
These news may also interest you
Embroider Flowers for Dresses and Home Decorations
Easy Embroidery Designs for Home Decor Use
Create a Creative Moving Duck Embroidery Design
Create Modern Flower Embroidery Designs
Fantasy Flower Embroidery with Brazilian Embroidery Stitches
Most Read News
Two needles easy knitting pattern explanation
How to Knit a Baby Vest with Two Skewers
How to Knit a Beautiful Baby Cardigan
Recent Comments
Crochet poncho for 3 - 5 year old girl
Sliced Cardigan Knitting Pattern

Home
Knitting
Embroidery
Crochet
DIY
Photo Gallery
Video Gallery
  • Crochet
  • DIY
  • Embroidery
  • Knitting
  • Photo Gallery
  • Video Gallery

  • Rss
  • About us
  • Contact We
  • Cookie Policy
  • Privacy Policy

All rights of the articles, videos, photos and news on our site are reserved.
Cannot be used without permission or showing the source.