How to Knit the Tiny Buds Knitting Pattern
The tiny buds
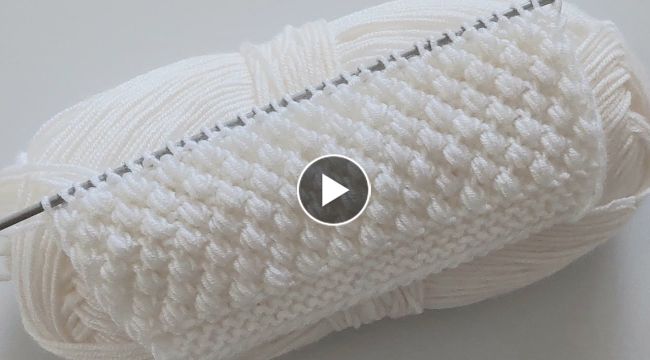
knitting pattern is a beautiful and delicate pattern that can add a touch of elegance to any project. It's a versatile pattern that can be used for various knitting projects, including scarves, shawls, and sweaters. If you're interested in learning how to knit the
tiny buds pattern, here's a step-by-step guide to help you get started.
Materials Needed
- 2 skeins of worsted weight yarn (choose your favorite color)
- A pair of size 8 knitting needles
- A tapestry needle for weaving in ends
- Scissors
Instructions
Cast On
Cast on an odd number of stitches onto your knitting needles using the long-tail cast on method.
Row 1
Knit the first stitch and then purl the next stitch. Repeat this pattern (knit 1, purl 1) to the end of the row.
Row 2
Purl the first stitch and then knit the second stitch. Repeat this pattern (purl 1, knit 1) to the end of the row.
Row 3
Knit the first stitch and then yarn over (yo) twice. Knit the next stitch and then pass both yarn overs over the knit stitch. Repeat this pattern (knit 1, yo twice, knit 1, pass both yo over the knit stitch) to the end of the row.
Row 4
Purl the first stitch and then slip the next stitch knitwise. Repeat this pattern (purl 1, slip 1 knitwise) to the end of the row.
Row 5
Knit the first stitch and then slip the next stitch knitwise. Insert the right-hand needle into the front of the slipped stitch and knit it together with the next stitch. Repeat this pattern (knit 1, slip 1 knitwise, knit 1) to the end of the row.
Row 6
Purl all stitches.
Repeat Rows 1-6
Repeat rows 1-6 until your knitting project measures the desired length.
Bind Off
Bind off all stitches and weave in ends using a tapestry needle. Your tiny buds
knitting pattern is now complete!Knitting the tiny buds pattern is a great way to add a touch of elegance and sophistication to your knitting projects. This pattern is easy to follow and creates a beautiful and delicate design that will impress anyone who sees it. So, grab your materials and start knitting today!