How to Knit a Floral Model Baby vest with Two Needles
If you're looking for a fun and creative
knitting project, why not try making a beautiful
floral model baby vest with two needles? This project is perfect for both beginners and experienced knitters, and with a few simple steps, you can create a gorgeous and unique garment for the little ones in your life.
Materials Needed
- Worsted weight yarn
- Size 7 knitting needles
- Scissors
- Tapestry needle
Instructions
Follow these simple steps to create your very own floral model
baby vest:
Step 1: Cast On StitchesTo begin, cast on 50 stitches using the long tail cast-on method. This will form the bottom edge of the vest.
Step 2: RibbingNext, work in a k2, p2 ribbing
pattern for the first 6 rows. This will create a stretchy and comfortable edge for the vest.
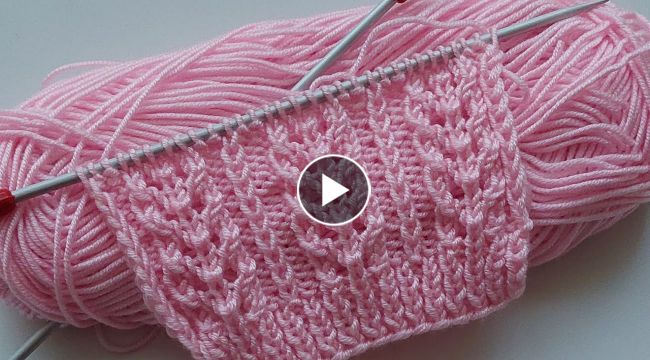
Step 3: Begin the PatternNow it's time to start the floral pattern. Begin with the first row of the pattern as follows:
- Row 1: *K2, P2, K6, P2; repeat from * to the end of the row
Repeat this row until the vest measures approximately 6 inches from the bottom edge.
Step 4: Increase StitchesNext, increase 1 stitch at each end of every other row until you have a total of 70 stitches on your needles. This will create the shaping for the armholes.
Step 5: Continue the PatternOnce you have reached 70 stitches, continue with the floral pattern as before until the vest measures approximately 10 inches from the bottom edge.
Step 6: Divide for the NecklineNow it's time to divide for the neckline. Work the first 22 stitches of the row, then bind off the next 26 stitches for the neckline. Work the remaining 22 stitches of the row.
Step 7: Work Each Side SeparatelyFrom this point on, you will work each side of the vest separately. Work in pattern until the armhole measures approximately 3 inches, then bind off all stitches.
Step 8: FinishingTo finish the vest, sew the shoulder seams together and weave in any loose ends. Add buttons or other embellishments as desired.
Conclusion
Knitting a floral model baby vest with two needles is a fun and rewarding project that can be enjoyed by knitters of all skill levels. With a little patience and practice, you can create a beautiful and unique garment that is sure to be cherished for years to come.