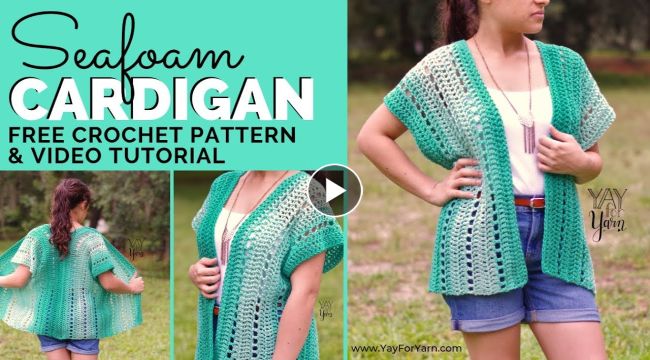
How to crochet a Seafoam Cardigan
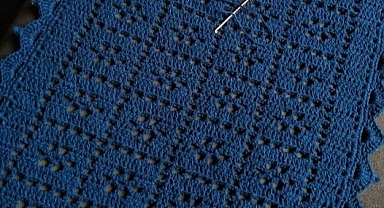
The seafoam
cardigan is a beautiful and cozy addition to any wardrobe. This
cardigan is perfect for layering and adding some texture to your outfit. With its intricate stitch
pattern and flowy design, it's also a great project for intermediate crocheters looking to take on a new challenge. In this post, we'll guide you through the process of
crocheting your very own
seafoam cardigan.
Materials
Before you begin, gather the following materials:
- 6-8 skeins of worsted weight yarn in the color of your choice
- Crochet hook in size H/8 or I/9
- Stitch markers
- Tapestry needle
Step 1: Create the Back Panel
Begin by creating the back panel of the cardigan. To do this, chain the desired number of stitches for your size and crochet in the seafoam stitch pattern until it reaches the desired length.
Step 2: Create the Front Panels
Next, create the two front panels of the cardigan. To do this, chain the same number of stitches as the back panel and work in the seafoam stitch
pattern until the panels reach the desired length.
Step 3: Create the Sleeves
For the sleeves, chain the desired number of stitches for your size and crochet in the seafoam stitch pattern until the sleeves reach the desired length.
Step 4: Seam the Panels and Sleeves
Use your tapestry needle to seam the front panels to the back panel at the shoulders. Then, seam the sleeves to the armholes of the cardigan.
Step 5: Create the Collar
To create the collar, begin by picking up stitches along the neckline of the cardigan. Then, crochet in the seafoam stitch pattern until the collar reaches the desired size.
Step 6: Finishing Touches
Weave in any remaining ends and block your cardigan to give it a professional finish.
Conclusion
Crocheting a seafoam cardigan is a great way to add a unique and stylish piece to your wardrobe. With its intricate stitch pattern and flowy design, it's sure to be a favorite for years to come. Don't be afraid to experiment with different yarn colors to make your cardigan truly one-of-a-kind.Happy crocheting!