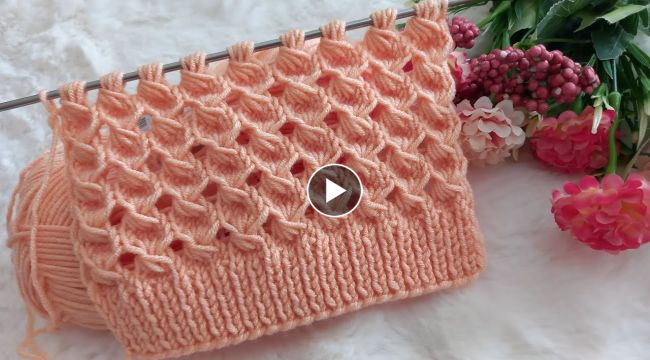
How to Knit Openwork Rose Model Women's Vest
Knitting a beautiful and intricate
vest can be a fun and rewarding project. The
openwork rose model is a popular design for
women's clothing, and can add a touch of elegance to any outfit. In this tutorial, we will go through the step-by-step process of
how to knit an openwork rose model women's vest.
Materials Needed
- 3 skeins of medium weight yarn
- Size 7 knitting needles
- Stitch markers
- Tapestry needle
Step 1: Cast on Stitches
Begin by casting on 130 stitches on your knitting needle.
Step 2: Knit the Hem
Knit in garter stitch for 8 rows to create the hem of the vest.
Step 3: Begin the Openwork Rose Pattern
Next, begin the
openwork rose pattern. The
pattern goes as follows:
Row 1: K1, *yo, k2tog, repeat from * to last stitch, k1.
Row 2: Purl all stitches.
Row 3: K1, *k2tog, yo, repeat from * to last stitch, k1.
Row 4: Purl all stitches.Repeat these four rows until the vest measures 15 inches from the beginning.
Step 4: Divide for Armholes
Once the vest has reached 15 inches, it is time to divide for the armholes.
Knit 45 stitches, place a stitch marker, bind off 20 stitches, place another stitch marker, and knit the remaining 45 stitches.
Step 5: Continue the Openwork Rose Pattern
On the next row, continue knitting the
openwork rose pattern on the two sections separately. Be sure to decrease at each armhole edge by knitting two stitches together on the knit rows.
Step 6: Shape the Shoulders
Once the armholes have reached the desired length, begin shaping the shoulders. To do this, bind off 7 stitches at the beginning of each shoulder on two consecutive rows, then bind off 6 stitches on the following two consecutive rows. Finally, bind off the remaining stitches and weave in any loose ends.
Step 7: Finishing
Once you have completed the knitting, use a tapestry needle to weave in any loose ends and sew the shoulder seams together. Add any finishing touches, such as buttons or a decorative border, to complete the
vest.With these easy-to-follow instructions, you can create a beautiful openwork rose model
women's vest that is both stylish and comfortable.