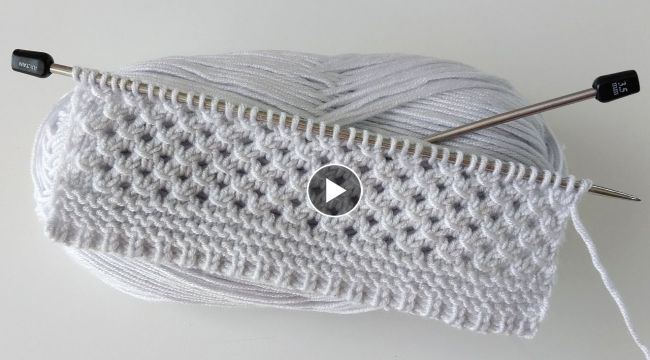
How to Knit Hackberry Model Baby Cardigan
If you're looking for a
knitting project that's both challenging and rewarding, look no further than the
hackberry model baby cardigan. With its intricate stitch
pattern and adorable shape, this
cardigan is sure to be a hit with parents and babies alike. Follow these simple steps to create your very own
hackberry model baby cardigan.
Materials You Will Need
- DK weight yarn
- Size 6 knitting needles
- Stitch markers
- Yarn needle
- Scissors
Instructions
Follow these simple steps to create your very own hackberry model
baby cardigan:
Step 1: Back Panel
Cast on 40 stitches and knit in stockinette stitch for 2 inches. Begin the hackberry
pattern as follows:
- Row 1: Knit all stitches
- Row 2: Purl all stitches
- Row 3: *K2tog, yarn over, repeat from * to end of row
- Row 4: Knit all stitches
- Row 5: Purl all stitches
- Row 6: *Yarn over, slip 1, knit 1, pass slipped stitch over, repeat from * to end of row
- Row 7: Knit all stitches
- Row 8: Purl all stitches
Repeat these 8 rows until the back panel measures 6 inches from the cast on edge. Bind off all stitches.
Step 2: Front Panels (Make Two)
Cast on 20 stitches and knit in stockinette stitch for 1 inch. Begin the
hackberry pattern as follows:
- Row 1: Knit all stitches
- Row 2: Purl all stitches
- Row 3: *K2tog, yarn over, repeat from * to end of row
- Row 4: Knit all stitches
- Row 5: Purl all stitches
- Row 6: *Yarn over, slip 1, knit 1, pass slipped stitch over, repeat from * to end of row
- Row 7: Knit all stitches
- Row 8: Purl all stitches
Repeat these 8 rows until the front panels measure 4 inches from the cast on edge. Bind off all stitches.
Step 3: Assembly
Lay the back panel on a flat surface and place a stitch marker at the center of the neckline. Lay one of the front panels on top of the back panel with the right side facing up, aligning the shoulders with the stitch markers. Pin the front panel to the back panel at the shoulders.Using the same yarn, join the yarn at the right shoulder and knit across all stitches. Bind off all stitches. Repeat on the left shoulder.For the armholes, pick up and knit stitches along the edges of the front and back panels as follows:
- Starting at the bottom edge of the front panel, pick up and knit 10 stitches along the edge of the panel.
- Knit across the 20 stitches of the back panel.
- Starting at the bottom edge of the other front panel, pick up and knit 10 stitches along the edge of the panel.
Knit in stockinette stitch for 1 inch. Bind off all stitches.
Step 4: Sleeves (Make Two)
Cast on 20 stitches and knit in stockinette stitch for 1 inch. Begin the hackberry pattern as follows:
- Row 1: Knit all stitches
- Row 2: Purl all stitches
- Row 3: *K2tog, yarn over, repeat from * to end of row
- Row 4: Knit all stitches
- Row 5: Purl all stitches
- Row 6: *Yarn over, slip 1, knit 1, pass slipped stitch over, repeat from * to end of row
- Row 7: Knit all stitches
- Row 8: Purl all stitches
Repeat these 8 rows until the sleeves measure 4 inches from the cast on edge. Bind off all stitches.
Step 5: Assembly
Using the same yarn, sew the sleeves to the armholes of the cardigan, aligning the seams and making sure the hackberry pattern is continuous. Weave in all ends and block the
cardigan to the desired shape and size.And there you have it! Your very own hackberry model baby cardigan. This project may be challenging, but the end result is definitely worth it.Happy knitting!