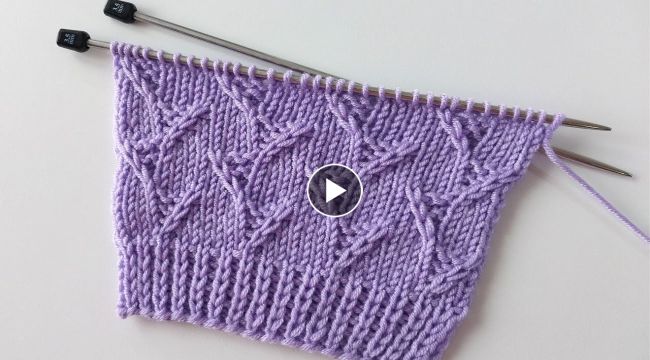
How to Knit Elegant Branches Model Women's Vest
If you're looking for a beautiful and versatile garment to add to your wardrobe, a
knitted vest is a perfect choice. In this tutorial, we'll show you how to
knit an
elegant branches model women's vest that's perfect for layering over a blouse or dress.
Materials You'll Need
Before we get started, let's gather all the materials you'll need to knit your elegant branches model
women's vest:
- Size 8 knitting needles
- Worsted weight yarn in your preferred color
- Stitch markers
- Tape measure
- Scissors
- Darning needle
Step-by-Step Instructions
Now that you have all your materials, let's get started
knitting your elegant branches model women's vest!
1. Cast On and Ribbing
Cast on 100 stitches and knit 2x2 ribbing for 2 inches.
2. Knit the Back
Knit in stockinette stitch for 10 inches, then add stitch markers to indicate the armholes.
3. Knit the Fronts
Knit the two fronts separately, starting with 50 stitches each. Knit in stockinette stitch for 6 inches, then start to shape the neckline by decreasing stitches every other row until you reach the desired depth.
4. Join the Shoulders
Join the front and back at the shoulders using a three-needle bind off method.
5. Knit the Collar
Using the remaining stitches on the neckline, knit in garter stitch for 2 inches to create a collar.
6. Finish the Armholes and Sides
Using a darning needle, sew up the armholes and sides of the vest. Weave in any loose ends, and your elegant branches model women's
vest is now complete!
Final Thoughts
Knitting your own elegant branches model women's
vest is a rewarding project that can add a unique touch to your wardrobe. With just a few simple steps, you can create a beautiful and versatile vest that's perfect for layering over any outfit.We hope you enjoyed this tutorial and happy knitting!