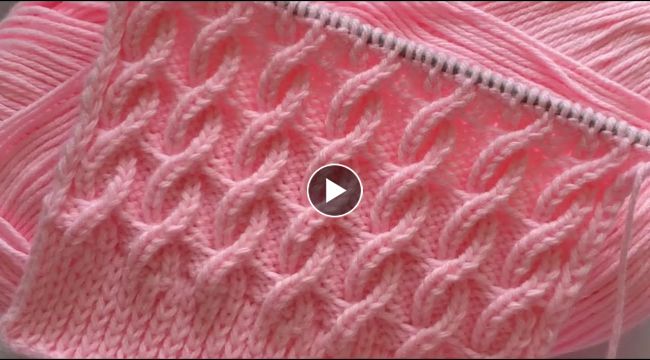
How to Knit a Fine Knit pattern Vest: A Step-by-Step Guide
If you're looking to add a stylish and cozy
vest to your wardrobe,
knitting your own is a great option. A
fine knit pattern vest is a beautiful and versatile piece that can be worn throughout the year, depending on the
yarn and
pattern you choose. Here's a step-by-step guide to help you create your own
fine knit pattern vest.
Materials
Before you get started, you'll need to gather some materials. Here's what you'll need:
- Fine weight yarn (approximately 500-700 yards)
- Knitting needles (size 3-4 US/3.25-3.5 mm)
- Stitch markers
- Tapestry needle
- Scissors
Pattern
Once you have your materials, you can start knitting your fine knit
pattern vest. Here's a
simple pattern to get you started:
Cast on 120 stitches.Row 1-5: Knit 1, Purl 1 (Rib stitch).Row 6: Knit all stitches.Row 7: *Knit 10, Purl 2*. Repeat from * to * until the end of the row.Row 8: *Purl 2, Knit 10*. Repeat from * to * until the end of the row.Repeat rows 7 and 8 until you reach the desired length (approximately 12 inches).
Divide for Armholes:Row 1: Knit 53 stitches, place marker, bind off 14 stitches, knit to end of row.Row 2: Knit to marker, remove marker, cast on 14 stitches, knit to end of row.Row 3: Knit all stitches.Repeat rows 2 and 3 until you have 19 stitches on each side of the armhole.
Continue for Shoulders:Row 1: Knit all stitches on the first side of the vest, then slip the remaining stitches to a stitch holder.Row 2-5: Knit all stitches on the second side of the vest.Row 6: Bind off all stitches on the second side of the vest.Return to the first side of the vest on the stitch holder and repeat rows 1-6.
Finishing
Once you have finished knitting your vest, it's time to finish it off. Here's what you'll need to do:
- Weave in any loose ends with a tapestry needle.
- Sew the shoulder seams together using a mattress stitch.
- Sew the side seams together using a mattress stitch.
And there you have it! Your very own fine knit pattern vest. This simple and elegant vest is perfect for layering over a blouse or dress, and can be dressed up or down depending on the occasion. Enjoy wearing your
handmade creation!