How to Knit a Bat Model Mother Vest: A Step-by-Step Guide
If you're a fan of unique and playful fashion, then a bat model
mother vest might just be the perfect addition to your wardrobe. Here's a step-by-step guide on how to
knit your very own
bat model mother vest.
Materials
- 4 skeins of worsted weight yarn (in the color of your choice)
- Two knitting needles (appropriate size for your yarn)
- Stitch markers
- Scissors
- Tapestry needle
- Bat print chart (can be found online or created yourself)
Step-by-Step Guide
Step 1: Cast OnCast on 82 stitches onto your knitting needles.
Step 2: RibbingKnit the first 2 stitches, then purl the next 2 stitches. Repeat this
pattern (knit 2, purl 2) until the end of the row.Continue this
pattern for 6 rows in total.
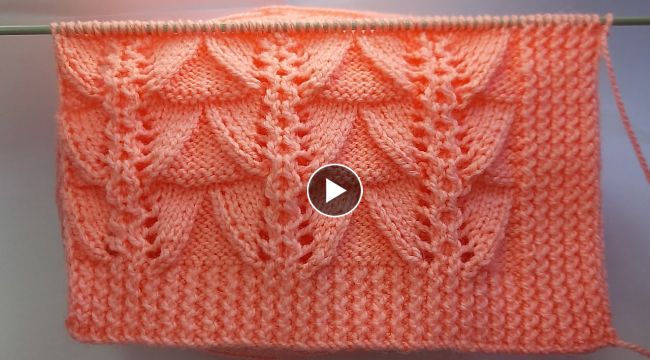
Step 3: Begin Bat PrintBegin the
bat pattern by following the chart you have chosen.Here's how to read the chart:
- Each square represents a stitch
- A blank square means you knit the stitch
- A square with a dot means you purl the stitch
- Follow the chart row by row, reading from right to left
Continue
knitting in the bat print pattern until the piece measures 15 inches from the cast on edge.
Step 4: Shape ArmholesAt the beginning of the next row, knit the first 4 stitches, place a marker, and knit to the end of the row.On the following row, knit to the marker, remove the marker, bind off the next 6 stitches, knit to the end of the row.Continue knitting in the bat print pattern until the piece measures 23 inches from the cast on edge.On the next row, knit to the first marker, remove the marker, bind off the next 6 stitches, knit to the end of the row.
Step 5: NecklineKnit the next row, decreasing 1 stitch at the beginning and end of the row.Repeat this decrease on every following row until 24 stitches remain.
Step 6: RibbingKnit the first 2 stitches, then purl the next 2 stitches. Repeat this pattern (knit 2, purl 2) until the end of the row.Continue this pattern for 6 rows in total.
Step 7: Finishing TouchesSew in any loose ends using a tapestry needle.And there you have it - a unique and playful bat print
mother vest that's sure to turn heads!This
vest is perfect for layering and adding a touch of fun to any outfit. Give it a try and see how creative you can get.