How to Knit Edging and Start with Two Needles: A Beginner's Guide
Knitting is a fun and rewarding hobby that can provide you with beautiful
handmade items. If you're just starting out, learning how to
knit edging and
start with two needles is a great way to get comfortable with basic techniques. Here's a beginner's guide to help you get started.
Materials
Before you get started, you'll need to gather some materials. Here's what you'll need:
- Yarn
- Two knitting needles (appropriate size for your yarn)
- Scissors
Starting with Two Needles
Before you can start knitting edging, you'll need to know how to start with
two needles. Here's how to do it:
Step 1: Start by making a slip knot with your yarn.
Step 2: Hold one needle in your right hand and the slip knot in your left hand. Insert the needle through the slip knot from front to back.
Step 3: Wrap the yarn around the needle in your right hand, from back to front.
Step 4: Use the needle in your right hand to pull the wrapped
yarn through the slip knot. This creates a new stitch on the right-hand needle.
Step 5: Repeat steps 2-4 until you have the desired number of stitches on your needles.
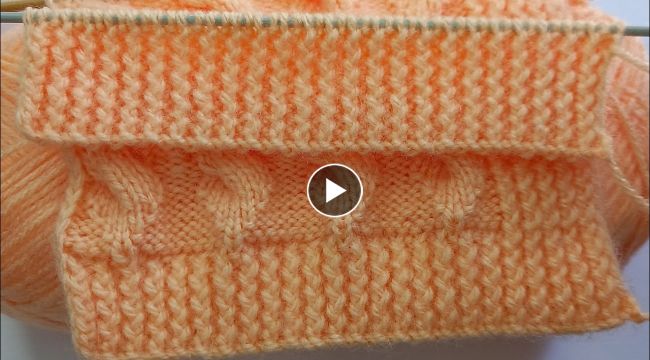
Knitting Edging
Once you have the hang of starting with two needles, you're ready to
start knitting edging. Here's how to do it:
Step 1: Knit the first stitch on your left-hand needle.
Step 2: Bring the yarn to the front of your work, between the two needles.
Step 3: Slip the next stitch from your left-hand needle to your right-hand needle, without knitting it.
Step 4: Bring the yarn to the back of your work, between the two needles.
Step 5: Knit the next stitch on your left-hand needle.
Step 6: Repeat steps 2-5 until you reach the end of the row.
Step 7: Turn your work and repeat steps 1-6 for the next row.
Finishing
Once you have finished knitting your edging, it's time to bind off your stitches. Here's how to do it:
Step 1: Knit the first two stitches on your left-hand needle.
Step 2: Use your left-hand needle to lift the first stitch over the second stitch and off the needle.
Step 3: Knit the next stitch on your left-hand needle.
Step 4: Repeat steps 2-3 until you reach the end of the row.
Step 5: Cut the yarn, leaving a tail of a few inches.
Step 6: Pull the tail through the final stitch on your needle and pull tight.And there you have it! Your very own knitted edging. Practice this technique to build your skills and add beautiful finishes to your future
knitting projects.