Learn How to Knit a Ringstone pattern Vest in 6 Easy Steps
Knitting is a relaxing and creative hobby that can be enjoyed by people of all ages. If you're looking for a new project to work on, why not try knitting a Ringstone pattern vest? This stylish and classic design is easy to create and will make a great addition to your wardrobe.
Step 1: Gather Your Materials
Before you start knitting, you'll need to gather all the necessary materials. This includes:
Size 8 knitting needles
4 skeins of worsted weight yarn
A tapestry needle
Scissors
Step 2: Cast On Stitches
To begin knitting the vest, you'll need to cast on 100 stitches using the long tail cast on method. This will create the bottom edge of the vest.
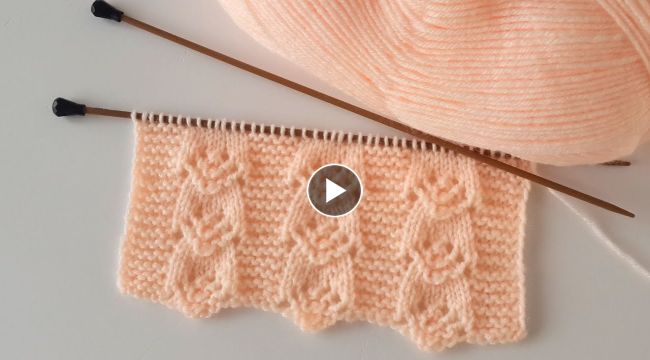
Step 3: Work the Ringstone Pattern
The Ringstone pattern is a classic design that looks great on vests. To create this pattern, you'll need to work the following steps:
Row 1: *K2, P2, repeat from * to end of row
Row 2: *P2, K2, repeat from * to end of row
Repeat rows 1 and 2 until the vest measures 16 inches from the cast on edge.
Step 4: Create the Armholes
Once the vest has reached 16 inches, it's time to create the armholes. To do this, you'll need to bind off 6 stitches at the beginning of the next 2 rows. This will create the armholes.
Step 5: Continue Working the Ringstone Pattern
After the armholes have been created, continue working the Ringstone pattern until the vest measures 23 inches from the cast on edge.
Step 6: Bind Off Stitches
Finally, it's time to bind off the stitches. Cut the yarn, leaving a long tail, and thread it through the last stitch on the needle. Pull the tail tight to secure the stitch and weave in the ends using the tapestry needle.And that's it! You've successfully knitted a Ringstone pattern vest. Wear it with pride and enjoy the satisfaction of creating something beautiful with your own two hands.