If you're looking for a stylish and classic men's vest to add to your wardrobe, then the Thessaloniki model is a great option to consider. This classic knit pattern features a beautiful cable stitch design and can be knit using a variety of yarn weights and colors to suit your preferences.
Materials Needed
Yarn of your choice (recommended: worsted weight yarn)
Knitting needles (recommended: US size 8 or 9)
Cable needle
Stitch markers
Tapestry needle
Scissors
Step-by-Step Instructions
Step 1: Gauge Swatch
Before beginning your project, it is important to make a gauge swatch to ensure that your vest will turn out to be the correct size. Use the recommended yarn and needles to knit a swatch in the Thessaloniki pattern, measuring 4x4 inches. Adjust your needle size as necessary until you get the correct gauge.
Step 2: Cast On
Once you have your gauge swatch, cast on the number of stitches needed for your desired size. You will be working in the round for the body of the vest.
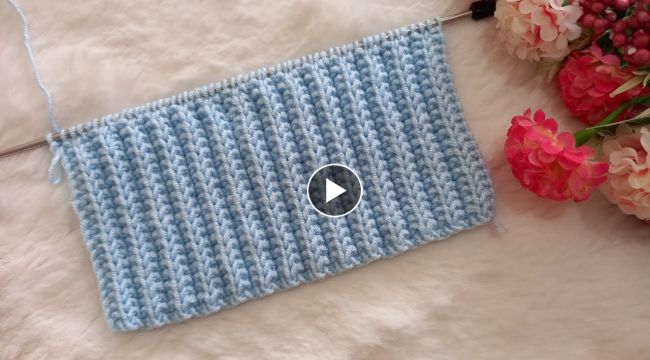
Step 3: Ribbing
Begin by working in a k1, p1 rib pattern for the first inch or so of the vest. This will create a nice stretchy edge and a smooth transition into the cable pattern.
Step 4: Cable Pattern
Next, you will begin the Thessaloniki cable pattern. This pattern consists of a 6-stitch cable, worked over 24 stitches. Follow the instructions below:
Row 1 (RS): *k3, p2, k6, p2; repeat from * to end of round.
Row 2 (WS): *p3, k2, p6, k2; repeat from * to end of round.
Row 3: *k3, p2, slip 3 stitches to cable needle and hold in back, k3, k3 from cable needle, p2; repeat from * to end of round.
Row 4: *p3, k2, p6, k2; repeat from * to end of round.
Row 5: *k3, p2, k3, slip 3 stitches to cable needle and hold in front, k3, k3 from cable needle, p2; repeat from * to end of round.
Row 6: *p3, k2, p6, k2; repeat from * to end of round.
Row 7: *k3, p2, k6, p2; repeat from * to end of round.
Row 8: *p3, k2, p6, k2; repeat from * to end of round.
Repeat rows 3-8 until desired length is reached (recommended: 16-18 inches).
Step 5: Armhole Shaping
Now it's time to shape the armholes. You will need to bind off some stitches at the beginning of the next two rows.
On the RS row, knit until the first marker, then bind off the next 8 stitches, knit to the next marker, bind off the next 16 stitches, and knit to the end of the row.
On the WS row, purl until the first marker, then bind off the next 8 stitches, purl to the next marker, bind off the next 16 stitches, and purl to the end of the row.
Now you should have 56 stitches left on your needles.