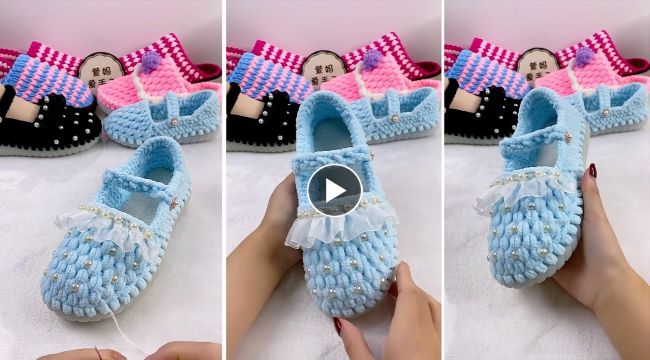
How to Knit a Line Slipper
If you're looking for a cozy and stylish
slipper pattern to knit, the Line
Slipper is a great choice. With its simple yet chic design, this slipper is perfect for lounging around the house or keeping your feet warm during chilly nights.
What You'll Need
Before you get started, you'll need a few supplies:
- Bulky weight yarn in the color of your choice
- Size 10 (6 mm) knitting needles
- A tapestry needle for weaving in ends
- A pair of scissors
Getting Started
To start, cast on 18 stitches. Then, knit every stitch for the first row.For the second row, knit 9 stitches, and then purl 9 stitches. Repeat this row until you have 4 rows of stockinette stitch.Next, you'll start working on the foot of the slipper.
Knit 9 stitches, and then turn your work. Purl the first 5 stitches, and then turn your work again. Knit the first 5 stitches, and then turn your work. Continue working in this way until you have 10 rows of garter stitch on the foot of the slipper.After completing the garter stitch rows, pick up 8 stitches along the side of the foot. Then, knit across the 9 stitches that you left unworked in the previous row. Pick up another 8 stitches along the other side of the foot. You should now have 25 stitches on your needle.Next, you'll work on the heel of the slipper. Knit 7 stitches, and then turn your work. Purl the first 7 stitches, and then turn your work again. Knit the first 7 stitches, and then turn your work. Continue working in this way until you have 10 rows of garter stitch on the heel of the slipper.Once you have completed the garter stitch rows, you'll need to shape the heel of the slipper. Knit 7 stitches, and then knit 2 stitches together. Knit 1 stitch, and then turn your work. Purl 2 stitches together, purl 1 stitch, and then turn your work. Knit 2 stitches together, knit 1 stitch, and then turn your work. Repeat this process until you have only 3 stitches left on your needle. Bind off these stitches and weave in the ends.
Finishing Touches
Now that your slipper is complete, it's time to add the finishing touches. First, fold the foot of the slipper in half, with the heel at the back. Using the tapestry needle and yarn, seam the sides of the slipper together.Next, fold down the top edge of the slipper to create a cuff. Seam the cuff in place using the tapestry needle and yarn.Weave in any remaining ends and trim the excess yarn. Your
Line Slipper is now ready to wear!
Conclusion
The Line Slipper is a simple yet stylish
slipper pattern that is perfect for
knitters of all skill levels. With its cozy design and easy-to-follow instructions, you'll have a new pair of slippers in no time!