How to Knit a Grater Model Baby vest with Two Needles
Are you a
knitting enthusiast looking for a new and exciting project? Why not try knitting a
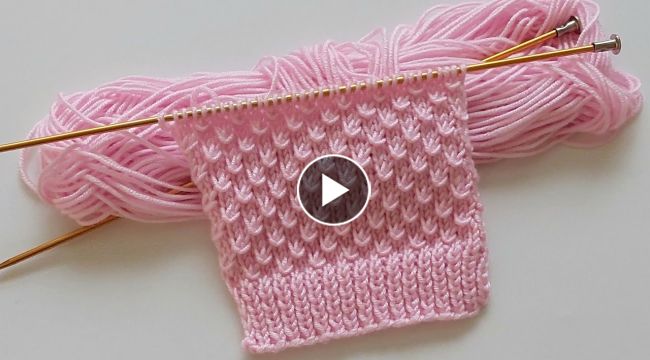
grater model baby vest with two needles? This cozy and stylish vest is perfect for keeping your little one warm and looking fashionable. The grater
pattern adds a touch of texture and uniqueness that you won't find in store-bought
baby clothes.
Materials Needed
- Worsted weight yarn in your choice of color
- Size 8 knitting needles
- Stitch markers
- Tapestry needle
Step-by-Step Guide
Step 1: Cast On
Cast on 62 stitches. Place a stitch marker after the first stitch, and again after stitch 31 to indicate the center front.
Step 2: Knit the Back Piece
Knit in stockinette stitch for 8 rows.Next row (right side): *K2, P2, repeat from * to last 2 stitches, K2.Continue in this ribbing
pattern for 12 rows.Knit in stockinette stitch for 8 rows.Repeat these 28 rows 2 more times for a total of 84 rows.Knit in stockinette stitch for 8 rows.Bind off all stitches.
Step 3: Knit the Front Pieces
Knit in stockinette stitch for 8 rows.Next row (right side): K1, P1, *K2, P2, repeat from * to last 3 stitches, K2, P1, K1.Continue in this grater pattern until the piece measures 6 inches from the cast on edge.At the beginning of the next two rows, bind off 6 stitches for the armholes.Continue in pattern until the piece measures 10 inches from the cast on edge.Bind off all stitches.
Step 4: Join the Front and Back Pieces
Using a tapestry needle and yarn, sew the front pieces to the back piece at the shoulders, leaving a 2 inch gap for the neck opening.
Step 5: Knit the Armhole Edges
Starting at the bottom of one armhole, pick up and knit 40 stitches evenly spaced around the opening.Knit in stockinette stitch for 4 rows.Bind off all stitches.Repeat for the other armhole.
Step 6: Knit the Neckband
Starting at the left shoulder, pick up and knit 44 stitches evenly spaced around the neck opening.Knit in stockinette stitch for 4 rows.Bind off all stitches.
Step 7: Finishing
Weave in all loose ends with a tapestry needle. Block the
baby vest by laying it flat on a towel and pinning it into shape. Gently mist the vest with water and let it dry.