How to Knit a Braid Model Baby vest with Two Skewers
Knitting is a wonderful way to create beautiful and functional garments for your little ones. If you're looking for a new project, why not try knitting a braid model baby vest? This classic design is both practical and stylish, and can be customized to suit any baby's personality and style.
What You'll Need
To knit a braid model baby vest, you'll need the following:
Two skewers (size US 8 or 9 works well)
Worsted weight yarn in the color(s) of your choice
Scissors
Tapestry needle
Stitch markers (optional)
Step 1: Cast On
To begin, cast on the desired number of stitches for the size of vest you want to knit. A good rule of thumb is to cast on about 60 stitches for a newborn size, and increase by 10-20 stitches for each size up. Use your skewers to cast on using your preferred method, such as the long-tail cast-on method.
Step 2: Knit the Ribbing
Next, knit the ribbing for the bottom edge of the vest. You can use a simple 1x1 rib stitch (knit 1, purl 1) or a 2x2 rib stitch (knit 2, purl 2) for a more textured look. Knit the ribbing for about 1-2 inches, or the desired length.
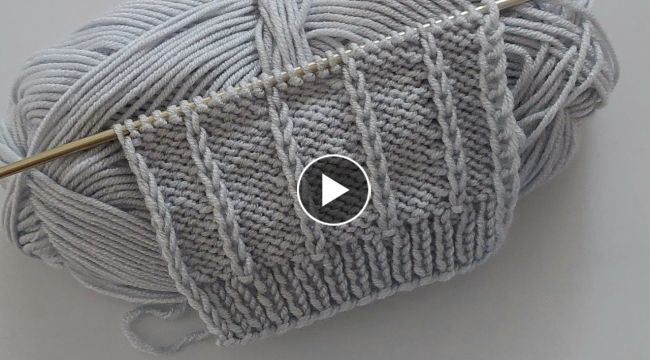
Step 3: Begin the Braid Pattern
Once the ribbing is complete, it's time to begin the braid pattern. The braid pattern consists of a series of knitted cables that create a braided effect on the front of the vest. To begin, place a stitch marker at the center of your work (if desired), and follow the pattern below:
Row 1 (right side): Knit all stitches.
Row 2: Purl all stitches.
Row 3: Slip 3 stitches to a cable needle and hold at the back of your work. Knit the next 3 stitches, then knit the 3 stitches from the cable needle. Repeat this pattern across the row.
Row 4: Purl all stitches.
Row 5: Knit 1 stitch, slip 2 stitches to a cable needle and hold at the front of your work. Knit the next 2 stitches, then knit the 2 stitches from the cable needle. Repeat this pattern across the row, ending with a knit stitch.
Row 6: Purl all stitches.
Row 7: Repeat Row 3.
Row 8: Purl all stitches.
Row 9: Knit 2 stitches, slip 1 stitch to a cable needle and hold at the back of your work. Knit the next stitch, then knit the stitch from the cable needle. Repeat this pattern across the row, ending with 2 knit stitches.